Table of Contents
Key Highlights
- Discover a beginner-friendly guide to creating easy mehndi designs with clear instructions.
- Learn about essential tools and mehndi materials needed for flawless application.
- Get expert tips for choosing the best mehndi cone to ensure vibrant and long-lasting results.
- Understand how to prepare your hands to achieve the ideal surface for a beautiful mehndi stain.
- Follow an easy-to-follow process with step-by-step tutorials for simple patterns, shapes, and motifs.
- Explore aftercare tips to make your mehndi color darker and maintain its vibrancy for days.
Introduction
Easy Mehndi Designs for Beginners: Step-by-Step Guide – Mehndi, also called henna, is a much-loved art. It gives you many ways to show your style and be creative. If you are new to this or starting out, you can use a step-by-step guide to help. This will make it easy and fun for you. You can make simple patterns, like flowers and shapes, with time and a bit of practice. This guide is made to help beginners. In it, you will find expert tips, useful hints, and easy ideas you can try. Start now and see how you can bring your own mehndi art to life.
Beginner’s Guide to Mehndi: What You Need and How to Get Started
If you are just starting with mehndi, you may ask what are the mehndi essentials. You will need a mehndi cone, clean skin, and a steady hand. These basics can help you do a smooth mehndi application. Learning about these simple things is the first step if you want to make great designs, even when you are a beginner.
This guide will show you all the things you need to begin. It covers choosing the right tools and getting your hands ready. Each tip here will make things easier for beginners and will help you get good results.
Essential Tools and Materials for Applying Mehndi
Crafting beautiful mehndi designs begins with the right mehndi tools and materials. A good-quality mehndi cone is crucial, as it helps you create precise patterns effortlessly. Additionally, having tissues, some lemon sugar syrup, and cotton swabs on hand can aid your process while promoting better stain development.
Make the most of your design sessions with proper supplies by your side. Here’s a detailed list of mehndi tools and materials:
| Item | Purpose |
|---|---|
| Mehndi Cone | Main application tool for drawing patterns. |
| Cotton Swabs | Helpful for removing unwanted mehndi smudges. |
| Lemon Sugar Syrup | Enhances the mehndi’s stain quality. |
| Tissues | Used to clean and manage any spills. |
| Applicator Tips | Allows detailed mehndi designs and intricate motifs. |
Remember, investing time in assembling the right tools ensures easier mehndi application and a cleaner design experience. Let these essentials guide you towards mastering the art.
Tips for Choosing the Right Mehndi Cone
The mehndi cone you pick has a big impact on how your designs look. If you are new at this, go for cones with natural mehndi. This helps keep your skin safe and helps you stay away from irritation. You should find cones that let the mehndi come out smooth and even. That way, you can make good designs even on your first try.
Here are some tips to keep in mind:
- Choose cones that use pure natural mehndi to keep away from chemical problems.
- Try out the cone to see how well it flows. If it skips or does not come out even, your design may not look good.
- The best mehndi cone has a tip that is fine and sharp. This helps you add small details in your art.
- Go through reviews on ready-made cones. This will tell you how easy they are to use and how the color shows up for beginners.
The right mehndi cone helps you be more creative. You do not need to worry about mistakes from the tool. Mix confidence with a good cone and let all your designs stand out.
Preparing Your Hands for Mehndi Application
Getting your hands ready helps make a good base for putting on mehndi. Start by washing your hands well. Clean skin makes it easier for the mehndi to stick. Make sure there is no oil, lotion, or anything greasy left, as these can stop you from getting a strong mehndi stain.
Here’s how you can get ready in the best way:
- Gently scrub your skin to clear away old skin for a smoother feel.
- You can use rubbing alcohol to clean your hands if needed.
- Do not put on any cream or moisturiser before mehndi. This can form a barrier.
- Dry your hands well before you begin drawing the design.
Getting your hands prepped the right way can help your mehndi go on well. It also keeps the final stain bright and helps it last longer. Now that your hands are ready, you can go ahead and make great mehndi designs easily.
Easy Mehndi Designs for Beginners: Step-by-Step Guide Process for Creating Easy Mehndi Designs
Anyone can get started with making simple mehndi patterns if they follow the steps. First, try out easy shapes like dots, lines, and curves. These simple marks are the building blocks for bigger designs. When you get the hang of these, you can start bringing the shapes together. This will help you make lovely and unique patterns.
This step-by-step design process will show you how to go from early practice right up to finishing more detailed work on your skin. If you follow the steps, you will feel sure about what you do. Even if you are a beginner, you can make pretty mehndi art easily.
Step 1: Practicing Simple Patterns on Paper
Starting with paper practice is very important for building your confidence in mehndi art. Use plain sheets to try out many different lines and shapes. This gives you a chance to get good at making the right movements and having better control, without having to draw right away on skin.
Key points for effective practice:
- Start with simple patterns like dots, spirals, and zig-zags.
- Do these shapes over and over until you can make your lines smooth and easy.
- Try using grid-lined paper to help with design planning and making everything match on both sides.
- Practice using a marker or pen before you use the real mehndi cone.
Going through this first step will really help you get ready for real mehndi work. Focus on making each pattern better so it’s easy when you start to work on hands.
Step 2: Drawing Basic Shapes and Motifs
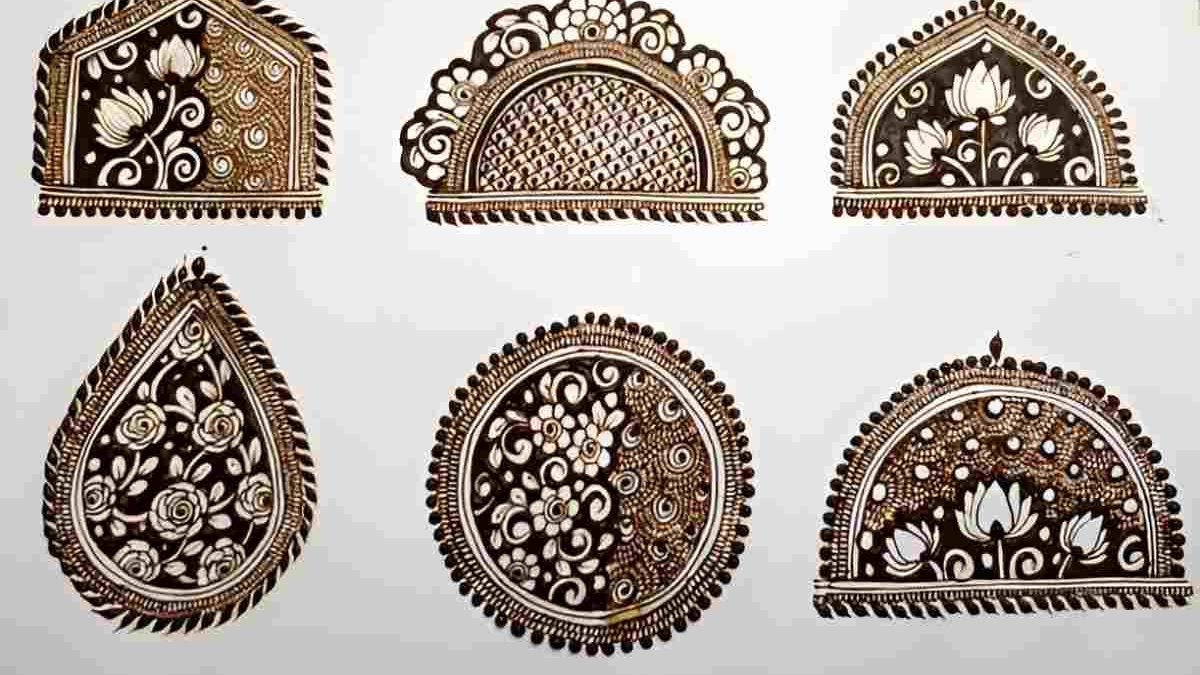
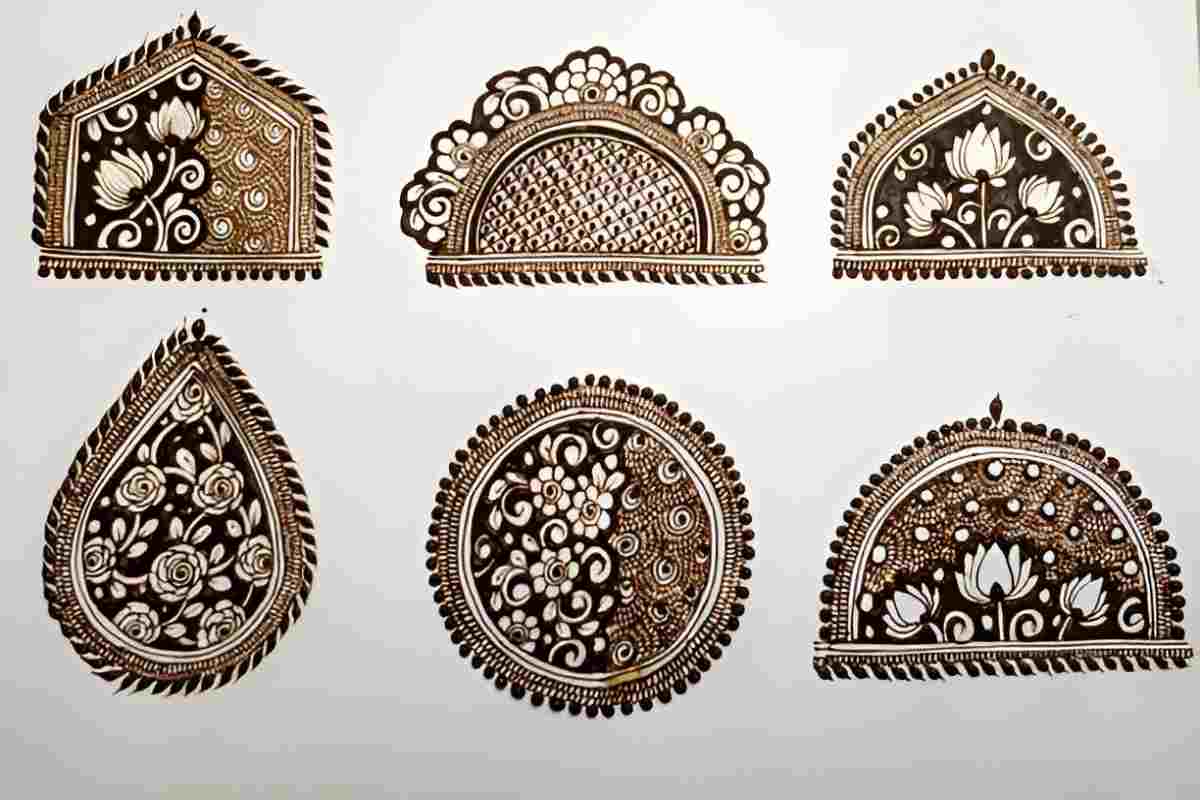
Now that you feel good about doing the basic strokes, you can try drawing some basic shapes in your designs. You can start with things like flowers, triangles, and leaf shapes. These are simple and help you get used to being creative. Try to mix these shapes together to make solid mehndi designs.
Here are some steps that can help you get better at your motifs:
- Draw circles that go over each other. Add lines to connect them. This makes your designs look detailed.
- Start with easy shapes but then try to add some curls and waves to make the designs stand out more.
- Work on making your shapes equal on both sides. When shapes look balanced, your mehndi art will look nicer.
- You can also find beginner patterns online to give you new ideas.
If you keep practicing these, you will get better at these motifs. It will make you feel more sure of yourself before you try putting mehndi on hands.
Step 3: Applying Mehndi to the Hand—A Simple Floral Design
Once you have learned to draw basic shapes, the next step is to practice putting mehndi on the hand. Start with small designs. The floral mehndi patterns are good for new learners as they are easy to make and look nice. Take the mehndi cone and try to make petals, spirals, and all those fine curves. Try to do each shape as neatly as you can.
Steps to focus on:
- Begin from the centre of the palm with a floral circular pattern.
- Gradually extend outwards using leaves and curvy stems.
- Add small complementary elements like dots for detailing.
- Work slowly to ensure precision and avoid smudges during application.
This easy and pretty design helps beginners show off their skills in mehndi. It also shows their own creativity in a simple way.
Step 4: Drying and Aftercare for Long-Lasting Stain
Let your mehndi dry all the way so that you get bright, long-lasting color. Keep your hands away from your design for at least 6-8 hours. This helps the color to settle in well.
Aftercare tips to keep your mehndi stain looking strong:
- Use lemon sugar syrup on the dried mehndi so the color can get even deeper.
- Do not use water to wash your hands for 24 hours. It’s best to gently scrape off the dried mehndi with your hands.
- Try to keep your hands warm right after you put mehndi on so the color can get darker.
- Dab some cooking oil or balm over the design. This helps stop the color from fading away.
These easy stain tips make your designs stand out and stay nice for days.
Conclusion
In the end, trying easy Easy Mehndi Designs for Beginners: Step-by-Step Guide can be a fun and rewarding experience for anyone new to this art. It helps you open up and try new things. When you follow the step-by-step guide from this blog, you get the basic skills and tips you need. This helps you make your own beautiful patterns. Keep in mind that the more you practice, the better you get. So, try different shapes and styles to see what you like the most. With enough time and patience, you will get better and start to make your own Mehndi art style. Have fun designing! If you want to start now, just pick up your tools and let your creativity take over.
Also Read: Homeo Central – Home